[3D Tutorial] – Stereo Photography - Part 1
This part is a bit academic, but it will give you a basic understanding of why things work the way they do. I recommend that you read it, but if your fingers are itching to try something, skip to Part 2.
Brief History of stereophotography
The roots of stereo photography go as far back as the end of 19th century.

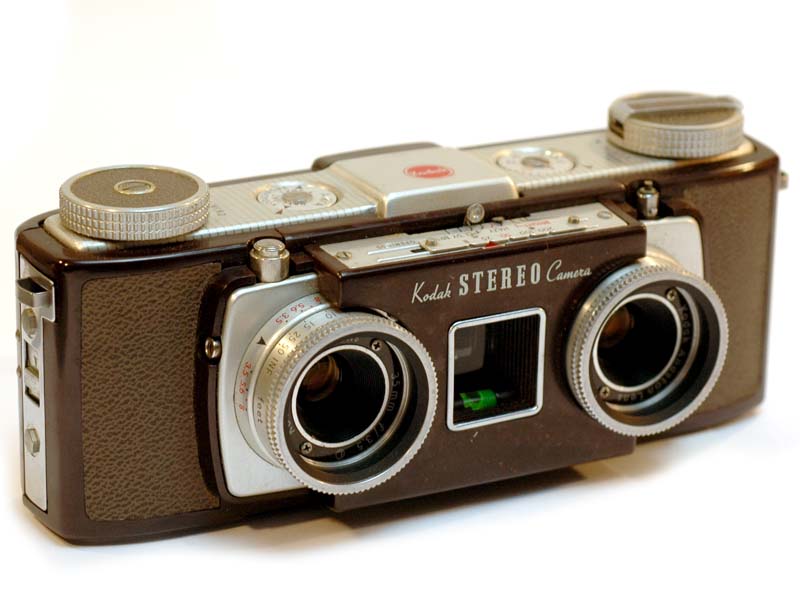
The technique was popularised in the early ‘20s, which saw several different stereo cameras and viewers mass produced, using glass plates.

It then declined until the late ‘40s when a new range of 35mm stereo cameras produced and later with toy viewers like the ViewMaster™.
Digital photography has made 3D photography relatively easy again and although we still don’t have a digital 3D camera available, other techniques have been developed. (see Part 4)
Basic Principles
Stereo photography is based on one fundamental principle: That our two eyes, see a slightly different picture, and the brain is using the discrepancy between the two, to assess depth and distance. This is not the only mechanism the brain uses (others are movement, focus, shade, etc) but it is the most fundamental one.
The easiest way to illustrate this, is with a simple experiment. Hold up a pencil, or even your finger in front of your face, and by closing each eye in turn, observe how the pencil is positioned against objects further away in the background:
Left  Right
Right 
If we align these pictures on the pencil, you will notice that the images of the background are shifted from each other. Conversly, if the background is aligned, then the pencil appears double. The brain performs the same assessment, moving from one to the other, and can therefore “guess” the distance between the two layers (panes)


Stereo photography exploits this principle by combining two different pictures in a way that each eye is presented with a different view, similar to what each eye would see if they were actually looking at a 3-dimentional scene. The brain then is “tricked” in assessing the distance, creating the illusion of a 3D image.
Assuming you have these two images available, there are a number of ways of presenting them. The most basic is just simply pitting them side by side with a divider in the middle, and allowing each eye just see one of them. Another is to have special viewing glasses (like binoculars, but with prisms). Another yet, is forcing your eyes to look cross-eyed, until the two images are forced to align in your vision.(You can try it with this image. It works, but don't complain to me if you get a headache!)
All of these are possible and have their merits, but the most common approach for digital photography is the Anaglyph method.
The Anaglyph method, is based on altering the tint of each picture of the stereo pair with a different colour (typically red/cyan) and then overlaying the two stereo images. You need to use a special pair of filtered glasses to view the picture, but these are available for a few pennies. With this method, the left eye sees only the red picture through the red filter, while the right eye, through the cyan filter, sees only the cyan picture.


A similar method of overlapping images is used for movies, but instead of using red/cyan glasses, it uses polarizer glasses, with one lens polarized horizontally and the other vertically. Unlike Anaglyph, it only works with projected light, but it has the advantage of not interfering with the picture's colours.
Now that we've covered the basic principles, in the next part we will create a very basic 3D Anaglyph picture.
posted by George Parapadakis at 3:14 AM
![]()

0 Comments:
Post a Comment
<< Home